
Review
How to install
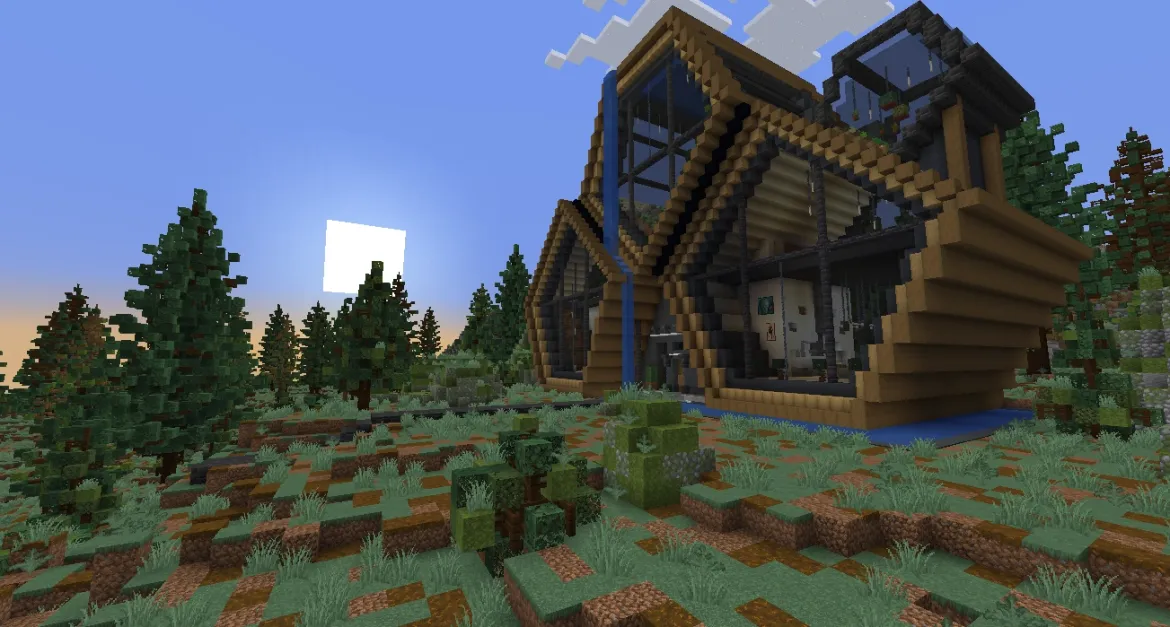
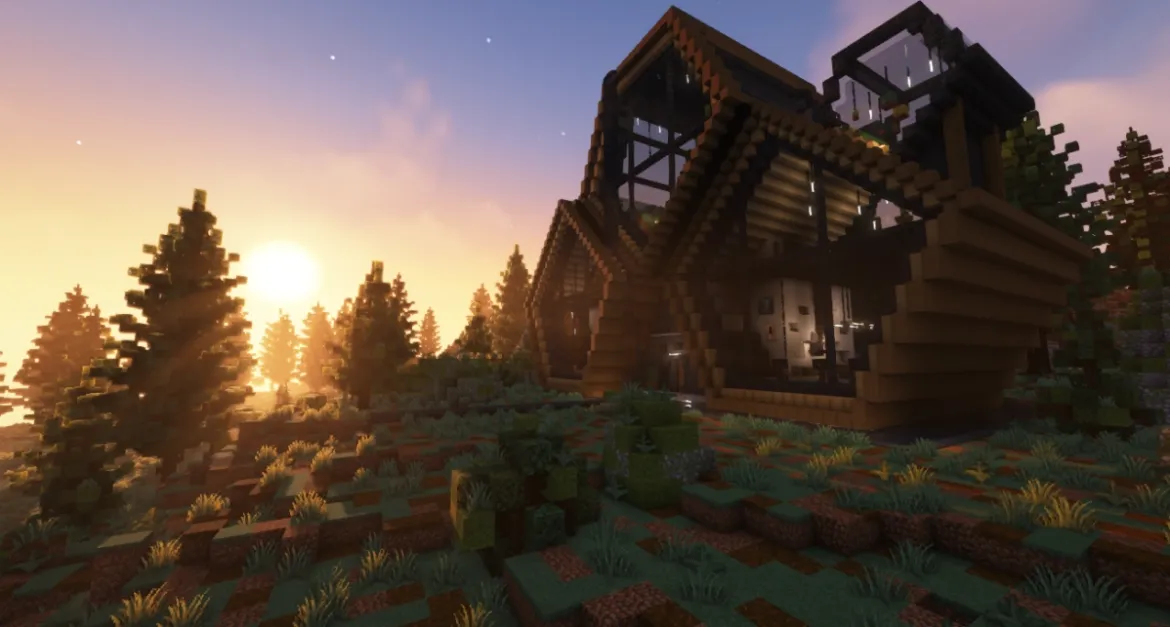
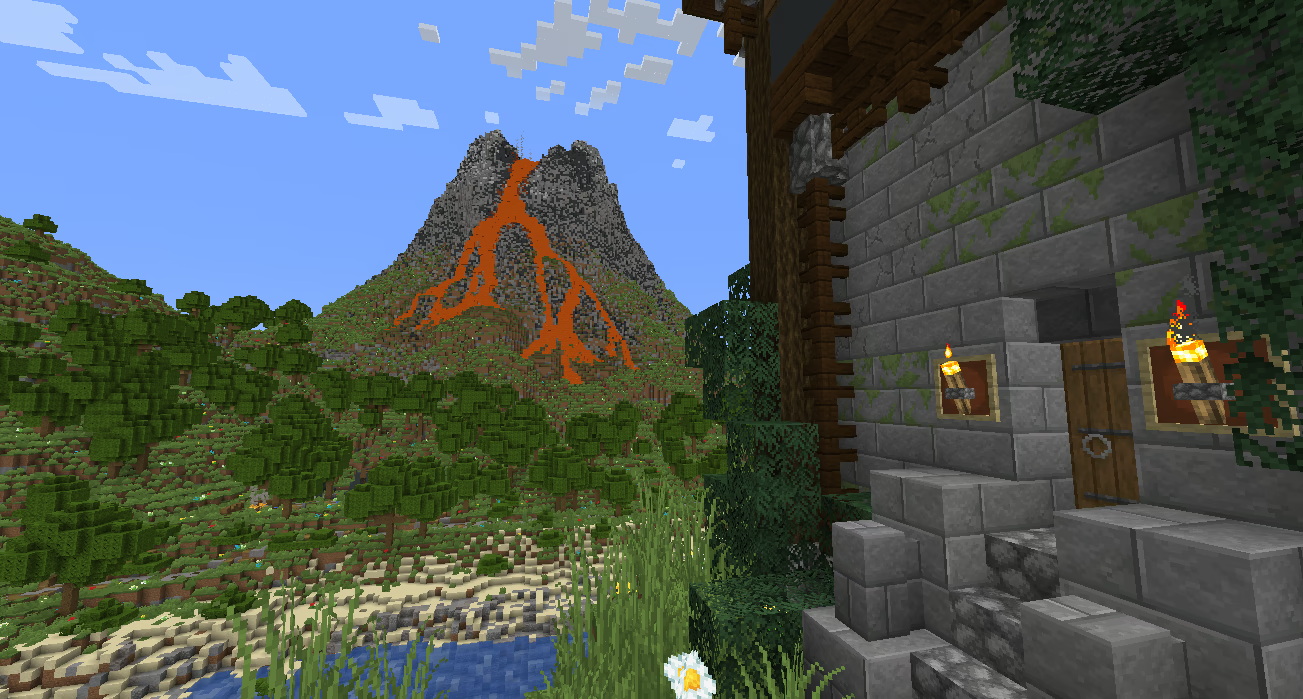
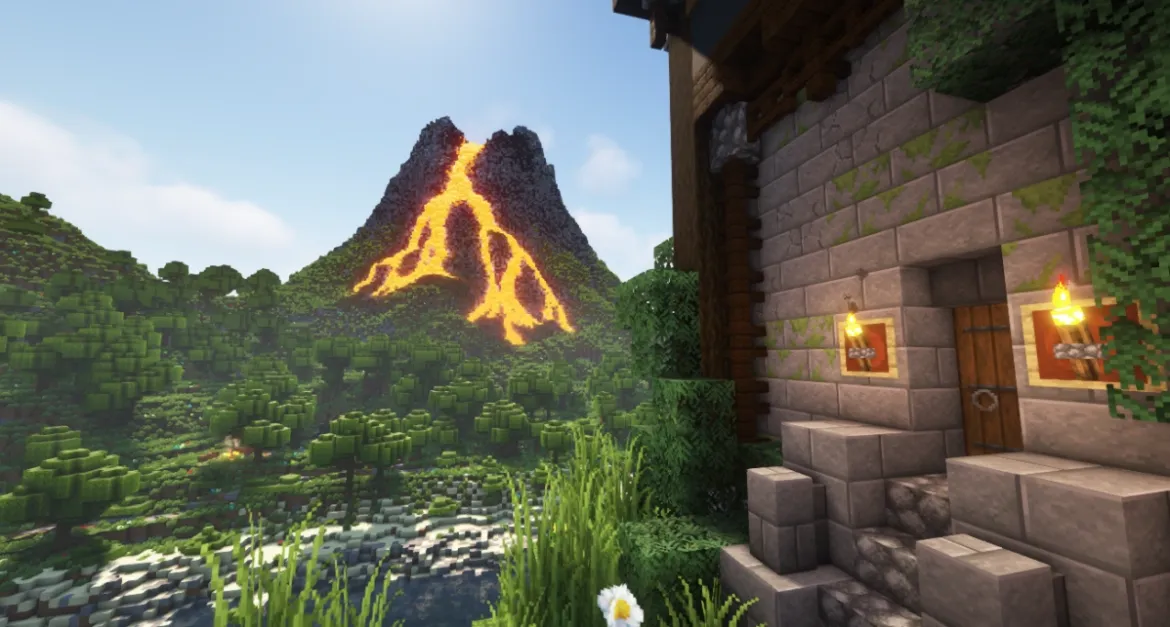
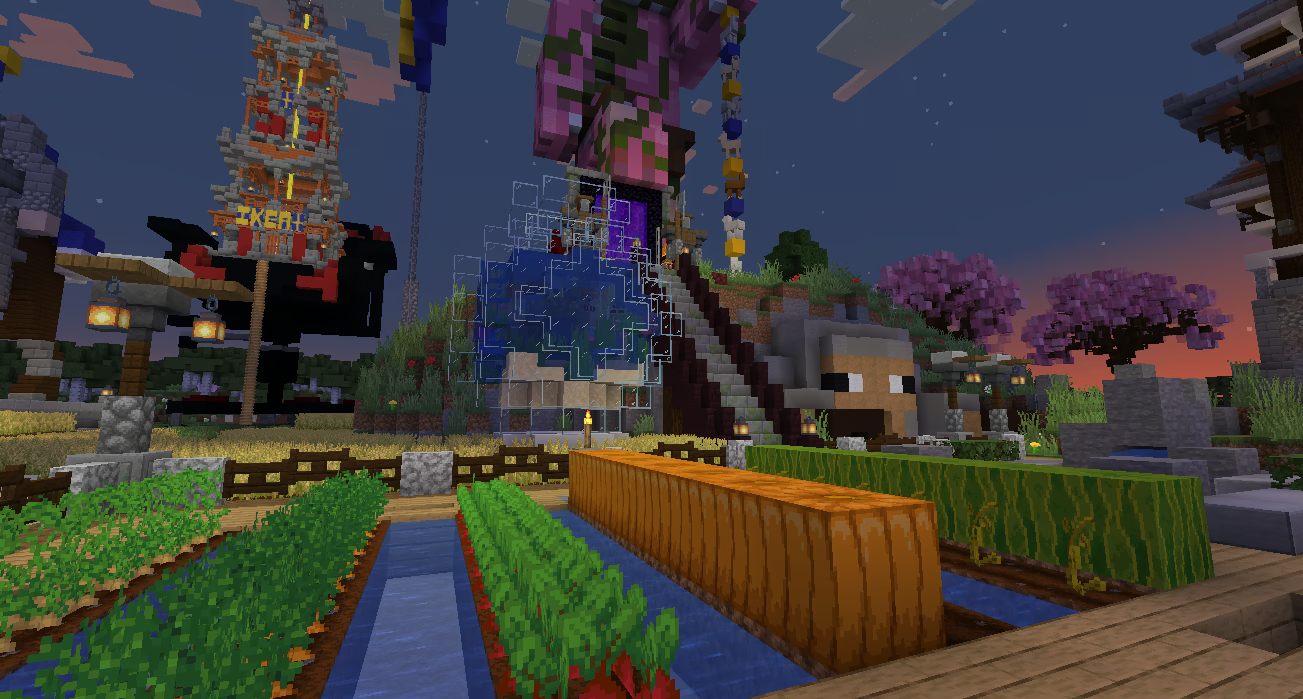
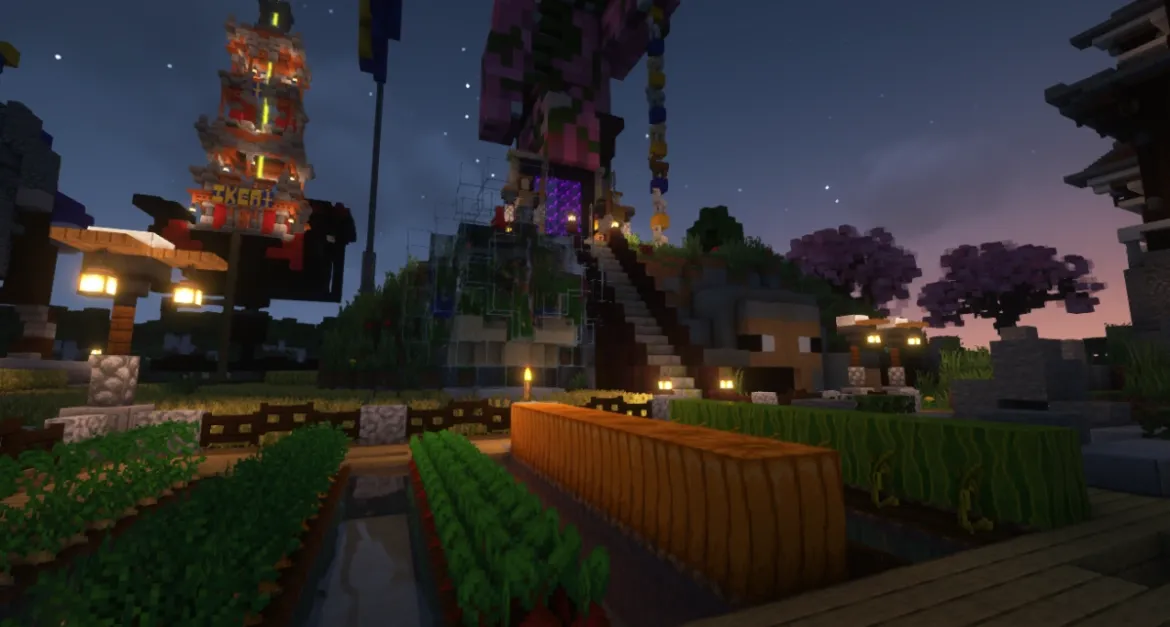
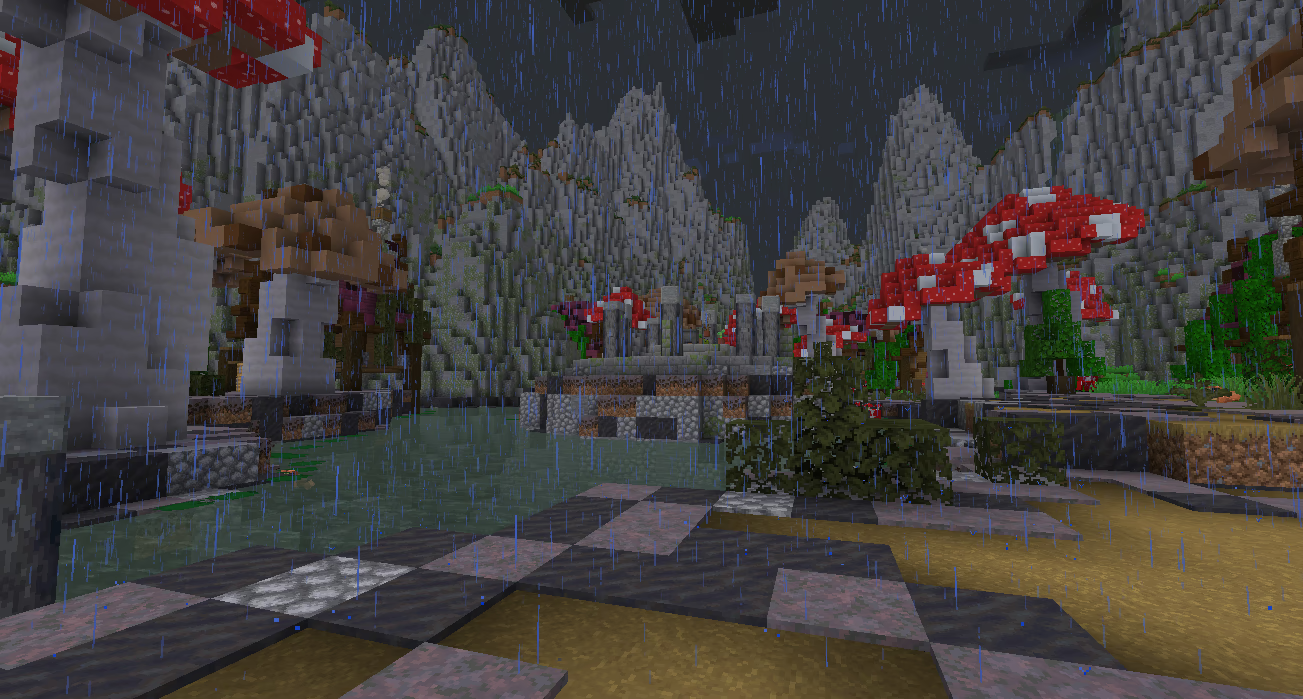
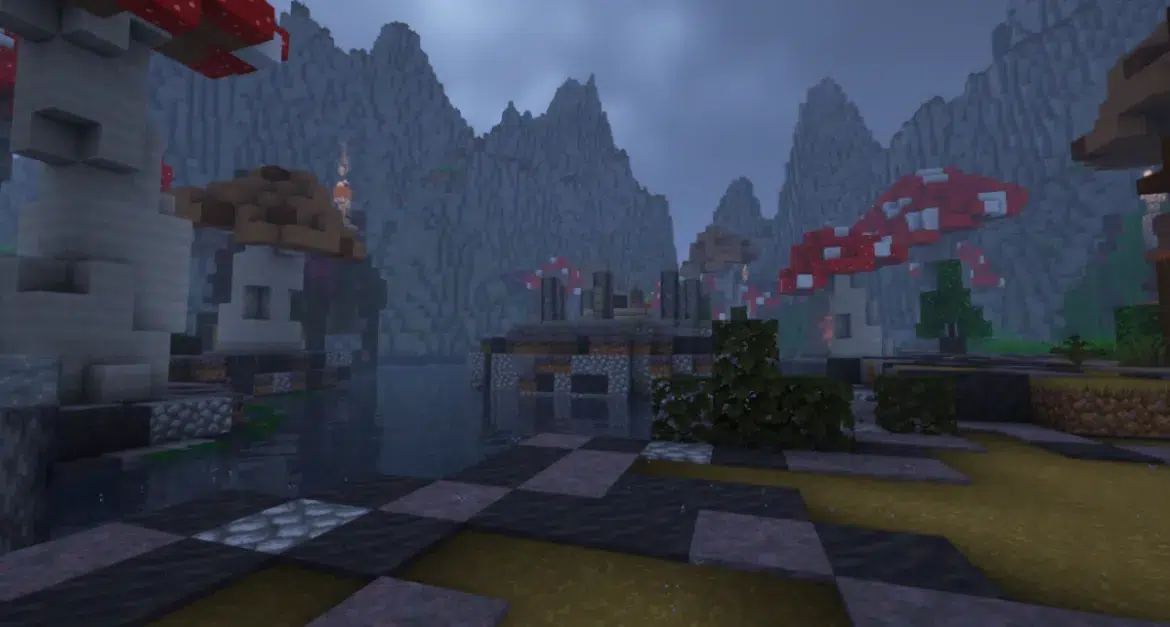
Complementary Shaders 1.21, 1.21.1 → 1.20.1 is a popular Minecraft shader pack for Java Edition. It makes the game look better by adding many cool effects. It has a special look with quality detail and performance. When it comes to unique visual style, very few shader packs come close to what it can offer. Just like BSL shaders and others, this shaderpack can refine your graphics.
Complementary shader improves the visuals of Minecraft to a great extent. It makes lighting, shadows, reflections, and water effects look better. These changes make the game feel more natural and fun. The shader pack also lets you change settings. You can adjust things to fit what you like and what your computer can handle. One of the best things about Complementary Shader is its balance of quality as well as performance. The developers made the shaders work well on various computers, including older ones. This means more players can enjoy better visuals without the game slowing down.
Complementary Shaders come with two different visual styles; these are Complementary Shaders Unbound and Complementary Reimagined. The only difference between these two styles is the default settings. The Complementary Shader Unbound style is for people who want a more realistic look. The Reimagined style keeps Minecraft’s unique look but makes it better. Since being created in 2020, it has gotten over 30 million downloads – quite impressive, right?
To download and install this shader pack, you will need the following:
- A computer or device capable of running shaders.
- A compatible version of Minecraft such as 1.19, 1.20, and 1.21.
- An installer Minecraft tool such as Optifine or Iris.
- Basic knowledge of how to install mods and shaders in Minecraft.
Some alternatives of Complementary Shaders will be explained below:
- Sildur’s Shaders: This adds numerous changes to Minecraft’s visuals. These could be advanced effects like volumetric lighting; bloom; and ambient occlusion.
- BSL Shaders: These give a good mix of detail and performance. They improve Minecraft’s graphics with realistic lighting; shadows; and textures.
- Bliss Shaders: It has been created to make Minecraft look peaceful. They use soft, vibrant colors; gentle shadows; as well as a calming feel.
In conclusion, complementary shaders give Minecraft players a way to make their game look better with amazing graphics as well as realistic effects. There are two visual styles to choose from – Complementary Shaders Unbound and Complementary Reimagined. Such makes it perfect for different game profiles. Also, these shaders work well on many devices. Always remember their disadvantages as mentioned earlier.
Features
Diffuse Shading
This makes light scatter as well as reflect smoothly off a surface. It makes things look even and smooth.
Specular Shading
This makes surfaces look shiny or reflective. It adds highlights and reflections.
Normal Mapping
This feature adds detail and depth to a surface without using more polygons.
Ambient Occlusion
This adds depth and realism by simulating how light interacts with objects.
Ambient Occlusion
This shading simulates how nearby objects block look. It adds shadows and dark areas.
Rim Lighting
This highlights the edges of an object with a subtle glow. It helps see objects in low light.
Gallery


Comparison
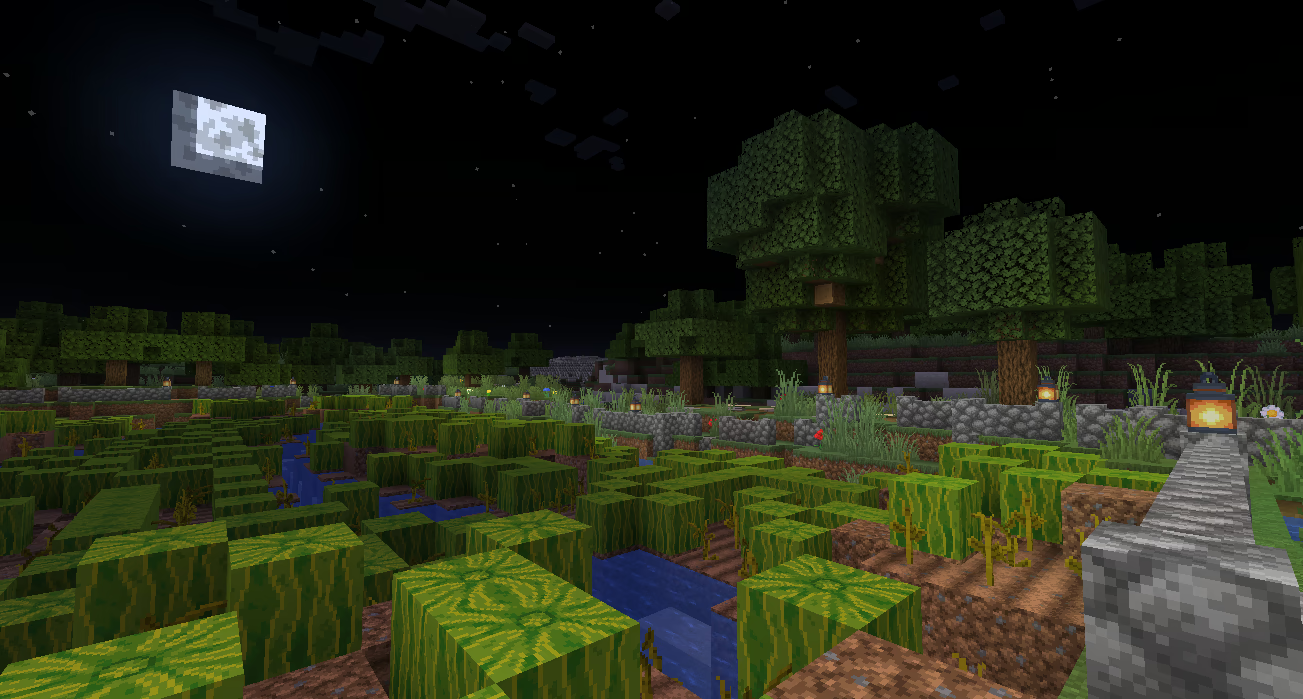
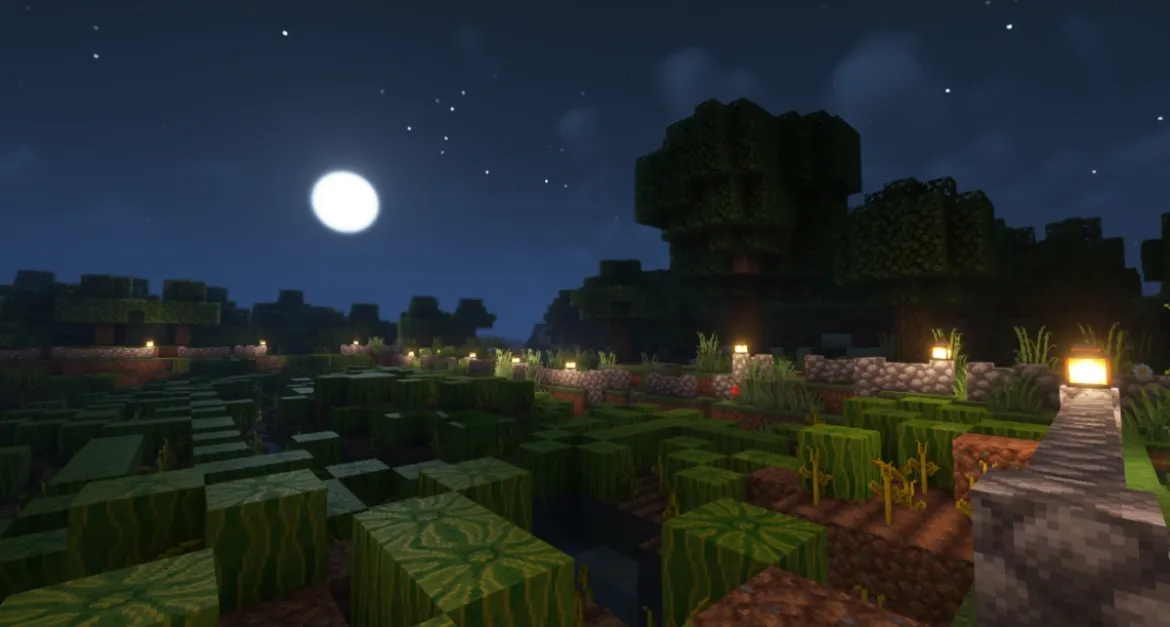
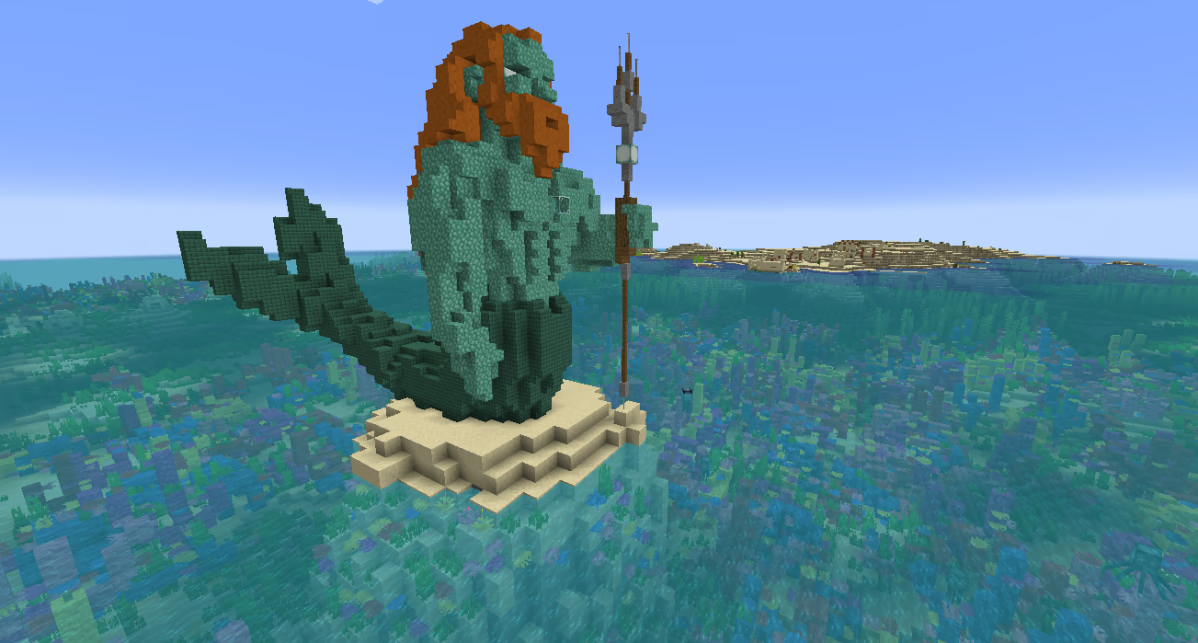
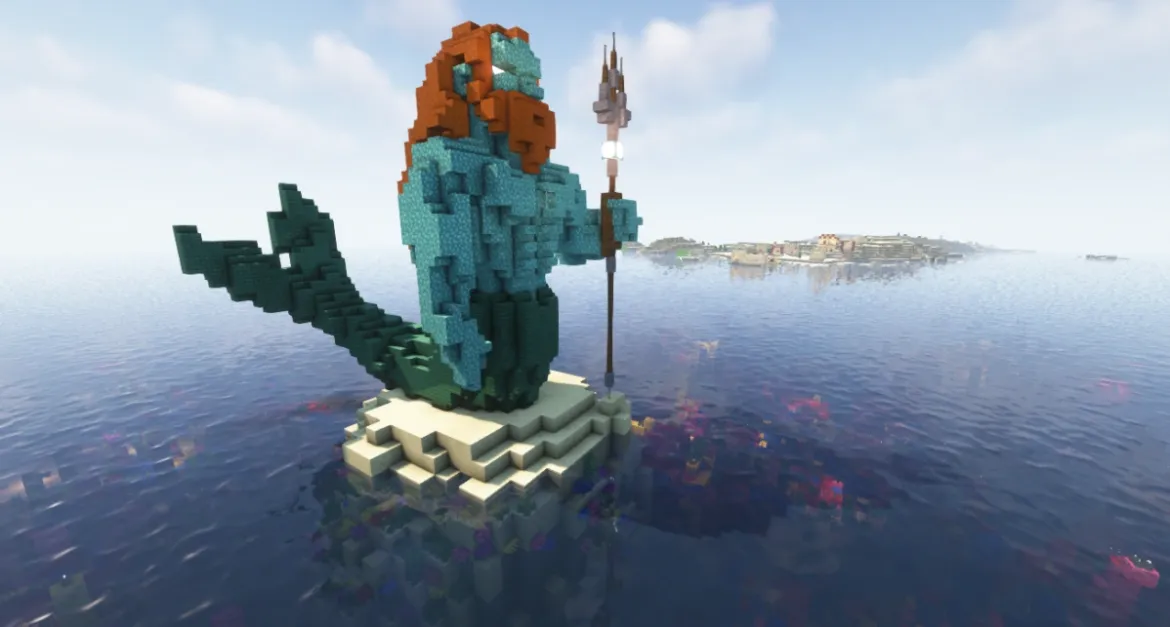
How to Install BSL Shaders?
The installation guide has been relocated to the installation tab located at the top of the page.
Quick pollHelp Developers
Complementary Shader Links
Please note the following information:
- Some shaders have not been updated for version 1.21 of Minecraft. However, all shaders have been tested and are confirmed to work correctly in Minecraft 1.21.
- All download links are original and sourced from the creator. We do not host or modify any files. Our role is solely to provide direct links to our users, ensuring security and quality.
- Additionally, you can explore the list of the best Minecraft shaders of all time.
We have compiled helpful installation guides to ensure correct installation of this shaderpack in your Minecraft. Follow these guides for a seamless installation experience.
Backup Guide
It is strongly advised to create a backup of your Minecraft map before updating the game to new versions to ensure the safety of your progress.
Locate the Folder
Locate your Minecraft installation folder. The default location for the Minecraft folder varies depending on your operating system:
- Windows: %appdata%.minecraft
- Mac: ~/Library/Application Support/minecraft
- Linux: ~/.minecraft
Make a Copy
Once you’ve found the Minecraft folder, make a copy of it and paste it into a different location, such as an external drive or a backup folder on your computer.
Save and Restore if Necessary
The copied Minecraft folder will serve as your backup. If anything goes wrong during the mod installation process or if you want to revert to the original state, you can replace the modified Minecraft folder with the backup.
Java Installation Guide
Optifine and Forge require Java to be installed on your computer in order to work properly with Minecraft.
Download the Java installer
Visit the official Java website here: On the website, click on the “Download Java” button.
Run the installer
Once the installer is downloaded, locate the file and double-click on it to run it.
OptiFine Loader
Required 1.8.8+Step by Step
Download Optifine:
Download the appropriate version for your Minecraft.
Install Optifine
Once the Optifine file is downloaded, run the installer and follow the on-screen instructions to install it

Download Shaders:
Download the Shader package that is compatible with your Minecraft version.
Launch Minecraft with OptiFine
Open the Minecraft launcher and select the newly installed OptiFine profile to launch the game.

Locate the Shaders option
Once in the game, navigate to the “Options” menu, then select “Video Settings,” and click on “Shaders.”

Install Shaders
In the Shaders menu, you’ll find a “shaderpacks” folder button. Copy the downloaded shader pack’s zip file into this folder.

Enable the shader in Minecraft
You should see the installed shader pack listed in the in-game Shaders menu. Select it to enable the shader.

Iris Loader
Required 1.16.2+Step by Step
Download Iris:
Download the latest version of the Iris installer.
Install Iris
Locate the downloaded Iris Installer and open it.
Choose installation type:
- Iris Install: Select this option if you don’t plan on using any other mods alongside Iris.
- Fabric Install: Opt for this option if you intend to use Iris with Fabric and other mods. The Iris jar files will be copied to the mods folder within the .minecraft directory.

Download Shader:
Download the Shader package that is compatible with your Minecraft version.
Launch Minecraft
Launch the Minecraft launcher. Choose the profile you decided to install in the previous step.

Install Shaders
Navigate to Options > Video Settings > Shader Packs within the game.

Drag and Drop
You can directly drag and drop the BSL shaders zip file into the Minecraft window to install a shader pack.

You Might Also Like

Best
BSL Shaders 1.21 → 1.20.1, 1.20.4, 1.20.6 remains a popular Minecraft Shader for the beloved game Minecraft. It has revolutionized the way players experience the blocky world

New
Sildurs Vibrant Shaders 1.21.1 → 1.20.4, 1.20.1 is a popular Minecraft Shader. It makes the game’s graphics better as well as adds lighting effects. This shader pack improves the game’s look with dynamic shadows, realistic water reflections, and even bright colors

Best
Bliss Shaders 1.21, 1.21.1 → 1.20 is another excellent Minecraft shader that gives a better appearance in the game and increases performance. If you want many features for your shader, then bliss is one of the best choices
Hot
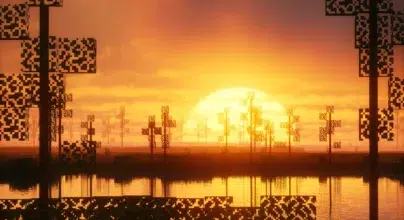
Photon Shader 1.21, 1.21.1 → 1.20 was created by sixthsurge in 2024. It remains one of the most popular shader packs in the Minecraft community
Best
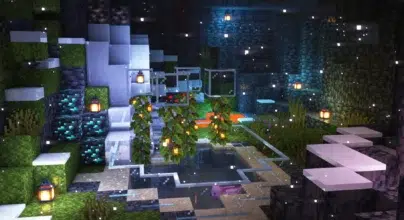
Iris Shaders 1.21.1 → 1.21 is a new shaders mod suitable for Minecraft. More than that, it also functions perfectly with Sodium alongside other mods, allowing you to experience improved FPS, compatibility, and performance that you usually don’t experience with OptiFine

Hot
Euphoria Patches Shader 1.21.1 → 1.20 has been a huge success since getting introduced into Minecraft by SpacEagle17 in 2023